Step by step
-
Add photos
Drag photos (or a folder) onto the window, or click the Add button (the large area while the list is empty) and choose them. RAW files are supported too; if there is a JPG with the same name next to it, the RAW is used and color and exposure adjustments are made from the RAW data. Right-click a photo to open it in Photoshop or Lightroom; the version you save in Photoshop comes back into Pikaj.
-
Choose the document
Click the document box and pick one from the list, or search (Turkish ID photo, biometric, Schengen, US…). The size, head size and paper are set up for the document; the Check section tells you whether the photo meets the rules. You can save the settings you use often to the Preset menu.
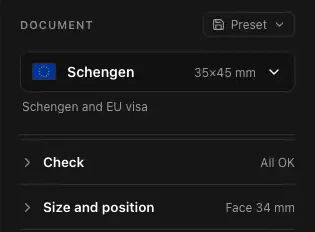
The Document box and the Check row. -
Page and Crop
Page view shows the print sheet: drag the photo to move it within its cell, zoom with + and −, and hold O to see the original. Double-click a photo to open Crop, where you fine-tune a single photo: Move (V), Edge cleanup (E), Liquify (W), Back to automatic (R). Heal (J) repairs a blemish or a small earring you paint over, using its surroundings. Press ? for all shortcuts.
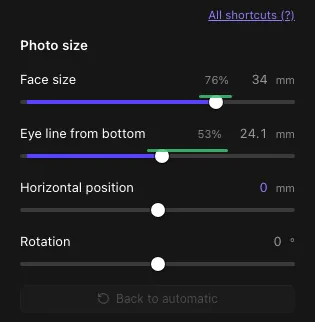
Crop: head size, eye line, position and rotation. -
Background
Replace the background with a plain color, a gradient or your own image. If the section is closed, click its title to open it. If the person's edge was cut out badly, use the edge settings (shrink, expand, feather) or fix it with the Erase and Restore brush.
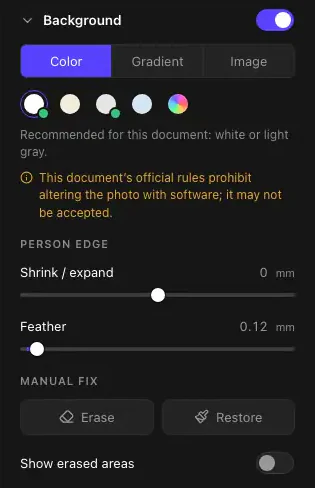
Background, person edge and manual fix. -
Retouching and adjustments
Retouching starts off: turn it on and it evens out the skin and finds and removes pimples and blemishes by itself; dark moles are left alone, freckles may fade. Pores reduces fine texture; Face sharpness works on the eyes, brows, lips and beard. Retouch area reaches up the forehead to the hairline and out to the side and jaw edges; check it with "Show retouch area". Official biometric documents may not accept retouching; Pikaj warns you.
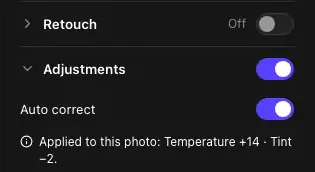
Retouch starts off; auto correction under Adjustments. -
Print or save
Send the print sheet to the printer with Print (⌘P; Ctrl+P on Windows). From the Save menu, save the print sheet as JPG/PDF, a single photo or the digital file; Save all processes every photo.
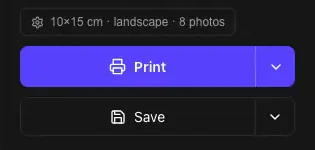
Paper setting, Print and Save.
The images are taken from Pikaj's real interface; only the settings panels are shown.
Related guides
- Automatic ID Photo in PikajProduct page: an overview of the ID photo tool.Product page
- How to batch edit photosEvery frame of a shoot is analyzed on its own; problem frames are found and corrected at the level you choose.8 steps
- How to design a photo albumSet up an album at the manufacturer's size; spreads are drawn at print size, and you are warned if the resolution is not enough.5 steps
- How to make a collage and a carouselMake single-page collages and carousels in social media sizes.4 steps
Download Pikaj
Pikaj is a desktop program; the versions are on the download page. Try it free for 15 days; no card details are required.