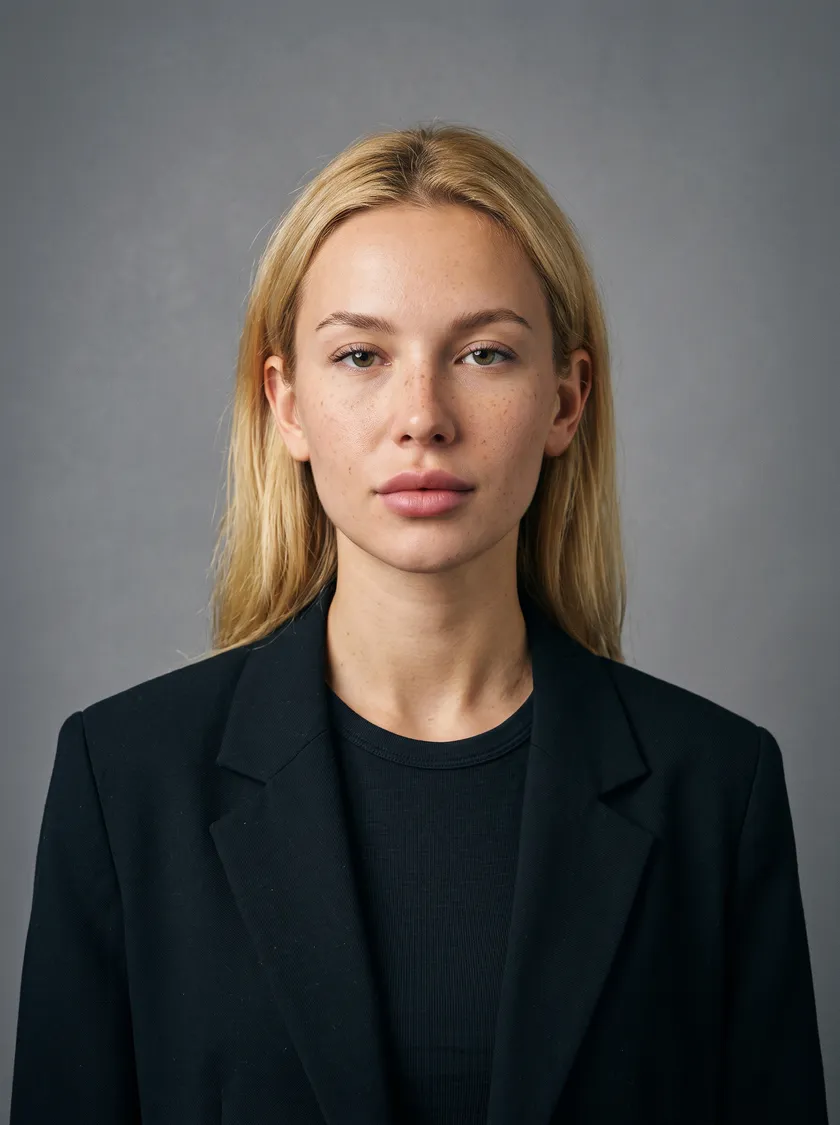
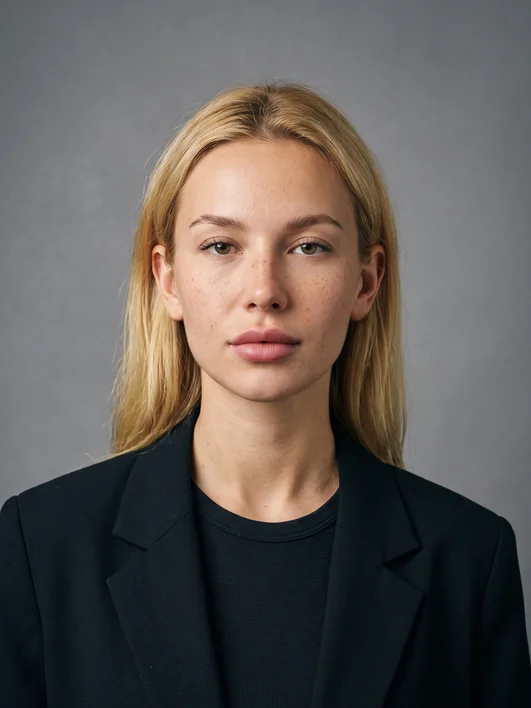
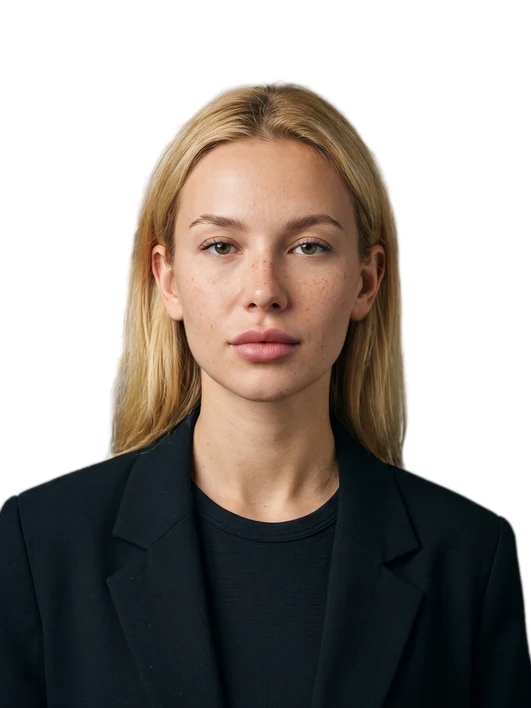
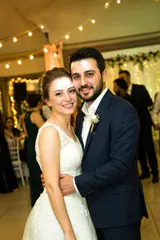
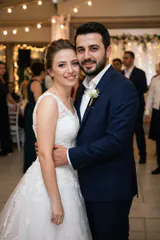
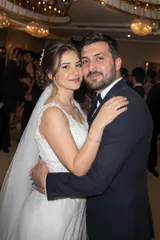
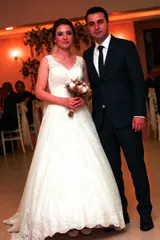
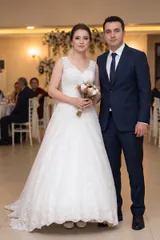
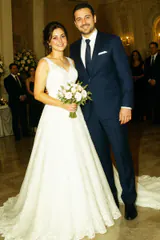
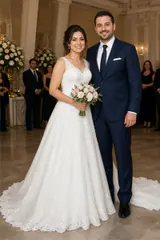
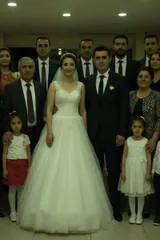
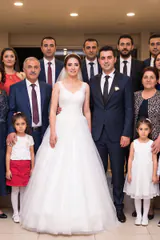
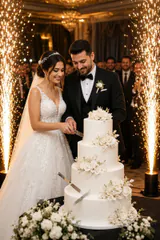


Sample shot. The screenshot shows Pikaj's real interface.
ID photo
Drag in your photos; Pikaj finds the face, crops each photo to the document's size, replaces the background and lays out the print sheet.
- Choose the document. Passport, visa and ID photo formats for many countries are built in: Schengen visas, US passports (2×2 in), the UK, Germany, Turkey and more. Size, head height and paper are set for the document; the Check panel tells you whether the photo follows its rules.
- Automatic crop, your fine-tuning. Drag the head-top, chin and eye-line guides; fix the details with the Move and Edge cleanup tools.
- Replace the background. A solid color, a gradient or your own image. If the edge around the person isn't clean, fix it with the Erase and Restore brushes.
- Retouching starts off. Turn it on if you want; for official biometric documents, Pikaj warns you.
- The print sheet is ready. As many copies as fit on the paper you choose (10×15 cm by default). Print it, or save it as JPG or PDF; Save all processes every photo. RAW files are supported too.
Check the result before you hand it to a customer. Official biometric documents may not accept a replaced background or retouching. Face detection needs macOS 14 or later on Macs with Apple silicon, and macOS 13.4 or later on Intel Macs; on older systems this feature is off and the app tells you why. The Linux version (1.0.15) doesn't include this tool.
Batch editing
Every frame in a shoot is analyzed on its own; problems with exposure, white balance, tilt and noise are found and corrected. You choose the correction level after seeing before and after on three samples from the shoot.


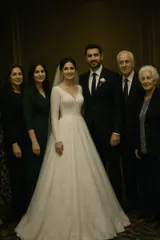
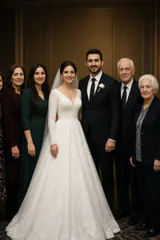
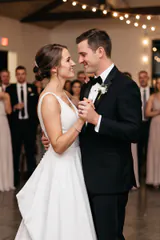
Sample shot. The screenshot shows Pikaj's real interface.
- See the level before you choose it. Drag in your photos (RAW is supported); three samples from the shoot appear. Compare before and after in the large view by dragging the divider or side by side (the O key shows the original), pick Original, Light, Balanced or Strong and click Start; the level is applied to every frame.
- Finds the problem frames. Exposure, white balance, tilt, noise and blur are flagged; filter by problem with the yellow ! button. Tilt is corrected only when it can be measured reliably from lines in the image; when it can't, the Suggested tilt button proposes a value. Blur can't be fixed in software: blurry frames are only flagged.
- Color: camera profile, LUT, Lightroom preset. A camera profile is learned from RAW+JPG pairs and brings the color of RAW frames closer to the camera's own JPG look. Load a .cube LUT, a Lightroom preset (.xmp) or a .dng; presets are applied approximately, not exactly.
- Develop: fine-tune frame by frame. A frame you double-click opens large in the middle, with the filmstrip below; on the right, simple Lightroom-style sections hold temperature, tint, exposure, highlights, shadows, clarity, skin, subject and background settings. Make one frame the Reference and use Match to reference to bring the others closer to it.
- Skin retouching starts off. Choose Light, Medium or Strong; skin smoothing, pores, pimples and blemishes, under-eye, eyes, teeth and face sharpness are adjusted separately. Pimples are found and removed automatically; pore texture is largely kept, dark moles stay and freckles may fade slightly.
- Open in Photoshop or Lightroom. Right-click a frame; when you save in Photoshop, your edited version comes back into the frame. Lightroom doesn't write to the file, and nothing is saved into RAW files.
- Originals stay unchanged. Frames are processed at their own resolution and written to new files; frames marked To delete are left out by default, and no files are deleted. The export window shows an estimated time based on the speed measured in your earlier exports.
Check the result before you hand it to a customer. Person separation and face detection need macOS 14 or later on Macs with Apple silicon, and macOS 13.4 or later on Intel Macs; on older systems these features are off and the app tells you why. The Linux version (1.0.15) doesn't include this tool.
Album design
Set up an album at your lab's print size. Photos are laid out on the spreads automatically; if a photo's resolution isn't enough, the app doesn't upscale it — it warns you.
Drop in your photos; the spread builds itself.
The app reads each photo's aspect ratio, orientation, capture time from EXIF, brightness and a 4×4 color signature. Photos are sorted by time, color jumps between neighbors are reduced, and then they are placed with orientation-aware page recipes: a portrait photo isn't forced into a landscape slot.
The result is a starting point. You can change the template or adjust the frames by hand.
You can drag the pieces.
- Sizes20×53 – 30×80 cm, or your own
- Preset resolution254–320 DPI
- Album maker presets (Turkey)Cihan · Flaş · Mert · Çizgi · Pusula · Truva
- Project file.pikaj
You choose the print size; the app does the math.
Instead of setting up a document by hand in InDesign and chasing the right size, you enter your lab's size and resolution, or pick a preset. The document is set up to match. Presets for Turkish album makers (Cihan, Flaş, Mert, Çizgi, Pusula, Truva) are built in.
- 20×53
- 25×50
- 25×70
- 30×50
- 30×60
- 30×76
- 30×80
Set up and name your own size, then call it up in one click in later projects.
If it's not enough, it doesn't upscale. It tells you.
If a photo's resolution is below what the lab needs for the frame you placed it in, the app doesn't upscale it on its own. Upscaling means inventing pixels; it comes back as blur in print, and you only see it once the album is in your hands.
Instead, it tells you which spread and which frame have the problem, and suggests a smaller size or a higher DPI. The decision is yours.
This is the core idea of the album tool: the design leaves the app in a form the lab accepts.
- Spread
- 18–19
- Frame
- Top left, 24×18 cm
- Required
- 2835 × 2126 pixels
- Available
- 1800 × 1350 pixels
This photo doesn't have enough resolution for this frame. It can go in a 20×15 cm frame, or be replaced with a higher-resolution version of the photo.
An album comes together in minutes.
-
Choose the size
Enter your lab's size or pick a preset, then the number of spreads. The cover can have a different size and DPI from the inner pages.
-
Drop in the photos
Templates are applied and the layout builds itself. There are five template categories: single photo, stack, grid, overlap and text.
-
Read the check
Frames without enough resolution are flagged. Refine the design with cropping, filters and text on the canvas.
-
Send it to print
Export as PDF or ZIP and send it to your lab. Ordering album prints from Pikaj is coming soon.
In the workspace
Pick a topic; the diagram next to it shows how that feature works. Everything shown here works in the app today.
Frame proportions in the diagrams are drawn from real sizes; cut paper stands in for photos.
Adjust after you place.
Besides brightness, contrast and saturation, there are temperature and tint — in other words, white balance. When frames shot under a venue's yellowish light end up next to window-lit frames on the same spread, this is where you even out the difference.
Sepia and black-and-white are separate settings.
Batch adjustments with multi-select: when you select several photos in the gallery, the setting applies to all of them — both the copies already placed on spreads and the photos not placed yet. When you drop one onto a page later, it arrives with its setting. The whole change is a single undo step.
Open in Photoshop: if something can't be solved here, right-click the photo and open it in Photoshop. When you save, Pikaj notices that the file changed and refreshes it on the canvas automatically; there's no need to import it again. Installed editors are listed by name in the menu.
The right-click menu also has show in folder, copy file path and edit crop. With a photo selected in the gallery, the Space key opens a large preview; use the arrow keys to move to the next photo.
Settings
- Brightness
- Contrast
- Saturation
- Temperature
- Tint
- Sepia
- Black and white
On right-click
- Open in Photoshop
- Show in folder
- Copy file path
- Edit crop
- Preview (Space)
Move several photos at once.
Select photos together in the gallery and move them in one go; you don't need to click them one by one to fix the order.
A move that goes wrong can be undone.
In the gallery
- Select multiple photos
- Move a selection together
- Undo and redo
- Keyboard shortcuts
The file is yours; print wherever you like.
Export the design as PDF or ZIP and send it to the lab you work with. Album print ordering is coming soon; for collages and carousels in Turkey, you can order through SharePrint — a separate seller with its own terms.
Your project stays on your own disk as a .pikaj file.
Outputs
- JPG, PNG or WebP — one image per page
- PDF — all pages in one document, at true print size
- Lab package — print files, a machine-readable order sheet and a printable order sheet in one archive
- Album print order — coming soon (for collages and carousels, SharePrint in Turkey: separate seller, separate terms)
- Project file (.pikaj) stays on your disk
Collage design
Make collages for social media or single-page prints. You don't need to know print jargon; the sizes come ready.
Frame proportions in the diagrams are drawn from real sizes; cut paper stands in for photos.
Collage sizes come ready.
Sizes for Instagram, Facebook, YouTube, TikTok, LinkedIn and X are in the list; no pixel math needed. Profile, cover, story, video and thumbnail sizes are all picked from the same list.
Multi-post (carousel) is a separate option: 1080×1350. A portrait frame that would lose its edges in a square post stays whole here.
Sizes in the diagram
- 01 Story and Reels
- 1080×1920
- 02 Multi-post
- 1080×1350
- 03 Square post
- 1080×1080
- 04 Facebook post
- 1200×630
- 05 X header
- 1500×500
A carousel is built on one canvas and split when you save.
Carousel comes first among the collage templates. Choose the slide size — Instagram portrait, square, story, LinkedIn — and how many slides you want, from two to twenty. The document opens that many slides side by side, as one piece.
It's one piece so that a photo can cross the border between slides. That's how you make designs that flow seamlessly as people swipe. If the slides were separate pages, each one would be closed off on its own.
When you save, you're asked: separate files or one image? Choose separate, and the app renders the combined canvas, splits it into equal parts and numbers them in order, so the order stays right when you upload. Choose PDF, and each slide becomes its own page — the format a LinkedIn document post expects.
If a size isn't in the list, type your own. The size fields can do math too:
type 1080*3, press Enter, and it becomes 3240.
Ready-made slide sizes
- Instagram portrait · 1080×1350
- Instagram square · 1080×1080
- Instagram story · 1080×1920
- Instagram tall · 1080×1440
- LinkedIn post · 1200×1500
- Your own size
This is what the app looks like.
Real screenshots of the album and collage workspace, ID photos and batch editing. The album and collage screenshots show the Turkish interface; the app itself can be switched to English on the sign-in screen (Mac 1.0.31; the Microsoft Store version with its next update).


The screenshots are taken from the real interface. The Home, ID photo and batch editing screens show the English interface; the album and collage screens are still in Turkish. The photos are Pexels stock photos; customer photos would need permission.
Your photos stay with you.
Pikaj isn't a cloud service; it's an app you install on your computer. Your projects live on your own disk as .pikaj files; photos are never uploaded to a server.
The app needs an internet connection each time it starts (your subscription is checked with our server); once it's open, you can keep working even if the connection drops. If your subscription ends, the app won't open, but the files on your disk are still yours.
ID photo and batch editing also process your photos only on your computer: the face detection models ship with the app, and photos and face data are not sent over the internet. Privacy policy
Desktop app
Pikaj installs on your computer. Try it free for 15 days; no credit card needed.
The Mac app (1.0.31) opens in English: pick the language on the sign-in screen. The Microsoft Store version gets the English interface with its next update.
All versions are listed below.
- macOS — Apple Silicon Version 1.0.31 · M1, M2, M3, M4 and later · 207 MB
- macOS — Intel Version 1.0.31 · Mac with an Intel processor · 215 MB
- Windows — Microsoft Store Windows 10 and later · x64 and ARM64
- Linux Version 1.0.15 · AppImage · 64-bit · older version: Turkish interface only, without ID Photo and Batch Editing · 117 MB
The Windows version is installed and updated through the Microsoft Store. Details and system requirements · Pricing and subscription terms